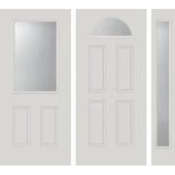
Doors designed to exacting specifications and built to last a lifetime. All at direct pricing. Browse our selection of exterior (entry, patio, storm/screen) doors as well as our interior doors. If you don't see what you need please don't hesitate to contact us.
The Pease Steel Door. Replace just your door slab and keep your existing jambs and brickmold. Change just your door slab and keep your existing jambs, inside trim, and exterior brickmold.
A perfect replacement for Pease Everstraight and Homestead doors as well as most entry doors by Stanley, Taylor, Mastercraft, Perma Door, Castlegate, Masonite, Therma Tru, Jeld-Wen, Plastpro, and many others. Please make sure to check your measurements (door height, width, and thickness) and feel free to email us with any measurement or fit questions.
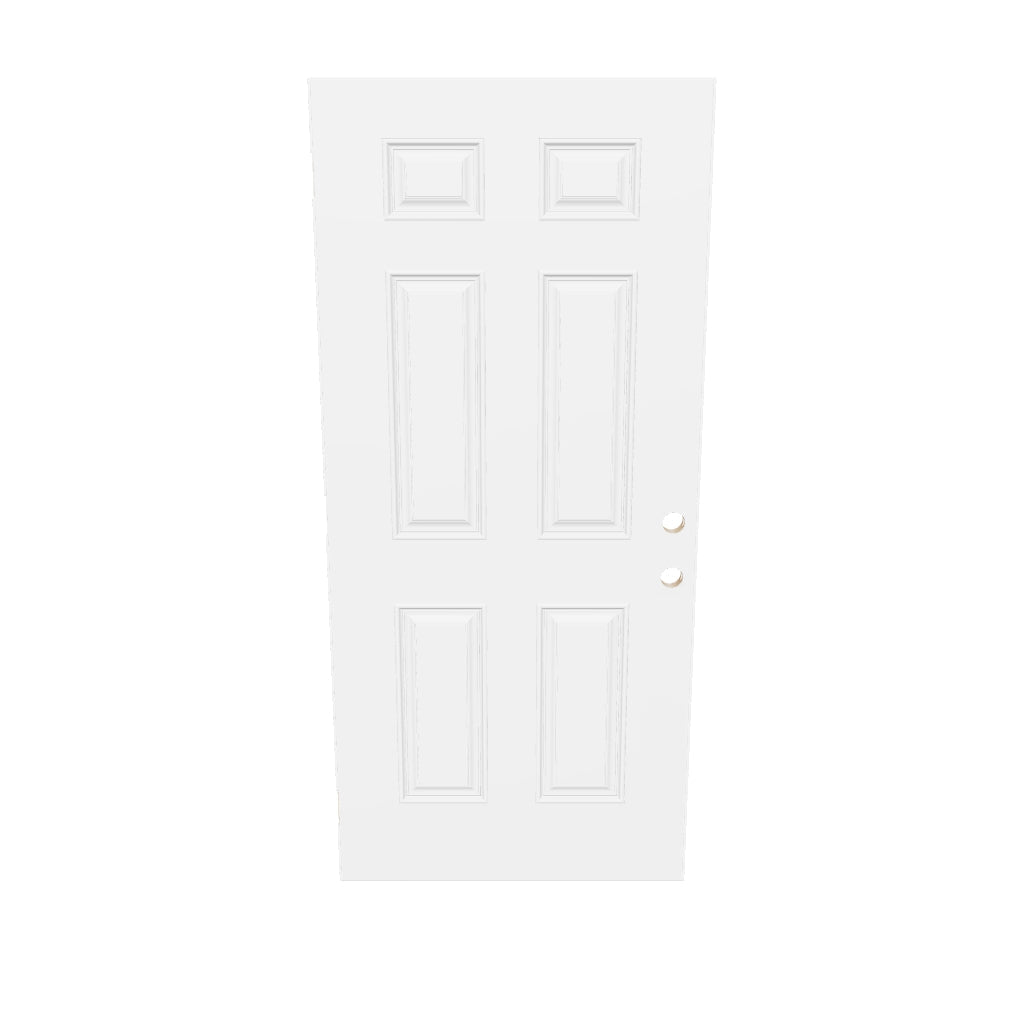
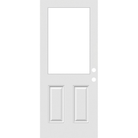
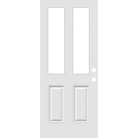
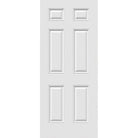
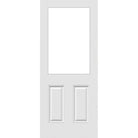
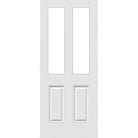
Classic 6 Panel style. Looks great with or without glass. Glass selections below come installed into the door using our standard profile plastic door glass frames. Additional glass options can be found in our door glass section.
Sizes & Measurements:
Style:6 Panel
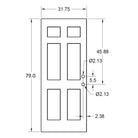
31.75" x 79":
Slab width:31.75" (referred to nominally as a 32", 2/8, or 2-foot-8-inch-wide door)
Slab height:79.0" (referred to nominally as an 80" or 6' 8" tall panel)
Panel Thickness: 1.75"
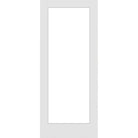
Select 6 Panel (no cut out), With Glass: Clear Half Lite (installed),With Glass: Clear Full Lite (installed), Without Glass: Half Lite 23" x 37" Cut Out, Without Glass: Full Lite 23" x 65" Cut Out
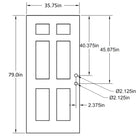
35.75" x 79":
Slab width:35.75" (referred to nominally as a 36", 3/0, or 3-foot-0-inch-wide door)
Slab height:79.0" (referred to nominally as an 80" or 6' 8" tall panel)
Panel Thickness: 1.75"
Select 6 Panel (no cut out), With Glass: Clear Half Lite (installed),With Glass: Clear Full Lite (installed), Without Glass: Half Lite 23" x 37" Cut Out, Without Glass:Full Lite 23" x 65" Cut Out
Need help measuring your rough opening? Our free SmartFit tool guides you through every measurement so you order the right size the first time. Get started → smartfit.peasedoors.com
Prep & other specifications:
Select eitherNo Hinge or Lock PreporStandard Hinge & Lock Prep:
No Hinge or Lock Prep: allows for lock placement as desired and hinge side edge unfinished and can be mortised for hinge placements as needed
PEASE Standard Hinge & Lock Prep 79" tall doors:
Hinge mortise (cut out) 6.5" from top of door to top of first hinge, 37.5" to top of second hinge, 68.5" to top of bottom hinge
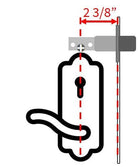
Tubular lock prep comes for 2 3/8" backset lockset and means the door will have two 2.125" holes 5.5" apart, each hole 2 3/8" from the center of the hole to the edge of the door, with the top hole center 40.375" from the top edge of the door
Trimming: We do not recommend trimming this door. If you need to trim your door please contact us.
Note: This is a replacement for most entry doors (front, kitchen, side, garage/man door, etc.) but will often not work as a replacement for patio doors which are typically shorter in height.
Additional specifications:
Primed white finish, see our paint category to purchase paint
Fire door with 20-minute rating
24 Gauge high quality steel (hot dip galvanized for durability)
1 3/16" jointed pine stiles (widest stile in the industry for extra stability and security)
Composite bottom edge to resist moisture/rotting
Wood edge door system for ease of installation and clean look
Reinforced 12" x 2.875" x 1.688" pine lock block for added security
High quality polyurethane insulation (HCFC-free) for maximum thermal efficiency
1. Before finishing, remove existing door and place onto the new door slab. We recommend placing the existing door slab onto a sawhorse or folding plastic table (just not a surface that could scratch or damage the door). If the door came in a cardboard box it can serve as a nice worksurface to protect the door.
2. Check that the new door width, height, and thickness match the existing door. If you need to trim the door height (up to about 2" is OK), we recommend trimming off the bottom and then use a U style door sweep to seal up the unfinished edge. Trimming the width is a little trickier and you really shouldn't take more than about 1/8" off each side. Best option here is to use a planer tool.
3. Trace hinges onto new door by aligning the existing door on top of new door and tracing with a pencil. Mark each hinge top, bottom, and how far into the door (towards the outside) the hinge needs to seat. We recommend using a combination square to ensure you get the measurements as accurate as possible. If needed, you can also trace the lock bore (holes for the lock) onto the new door as well.
4. Next create the mortise slot for the hinges on new door. We recommend using a utility knife to score the edges of where the hinge will sit. Then, using either a chisel or router, remove the wood and create the recess for each of the hinges.
5. Next we recommend turning the door onto the lock edge so the hinge edge is facing to the sky. Place hinges to their mortise slots and pre-drill hinge holes using a 1/8" or 1/16" drill bit.
6. Screw hinges to the door. We recommend using 2-3" long screws for the top 2 holes on the top hinge. This will help the door fight against gravity and stay square/operating smoothly for longer.
7. Hang the door into the opening. This is a 2-3 person job, depending on how heavy the door is. It can help to use rags or a block of wood to hold the door into position.
Option a: Without removing hinge pins - start by screwing the top hole of the top hinge in first and work your way down.
Option b: Removable hinge pins. If your hinges have removable pins, you can screw one half of each hinge to the door and the other into the jamb, align the door into the opening such that the hinges fit back together and then you can drop the pins back in.
8. Check for smooth operation and for the door to be square in the opening. There should be about 1/8" to 1/4" of space between the lock edge of the door and the jamb. Shim hinges and plane lock edge of door as needed.
9. Install the lock (cutting the bore holes and mortising for the latch and deadbolt as needed). Tip: don't cut all the way through the door with the hole saw -- cut about 2/3 through and then come in from the other side.
10. Clean the door (get all of the dust debris off of the surface of the door)
11. Paint the door. Click here for our guide on how to paint your door. We recommend our paint or any exterior grade acrylic latex paint.
This door was an exact replacement for a nearly 30 year old Stanley steel door, and it was much, much easier than trying to replace the whole door and frame.
The door was packed extremely well and arrived safely on a huge pallet. There was a minor manufacturing defect but Carey was very responsive and helpful and we figured out a solution that worked for both of us.
I would not hesitate to order from Pease Doors again.
The door was a perfect replacement! Super easy install, everything lined up like the original. I made 0 modifications. The door hung and swung and latched just like the old one. Easiest door replacement I have done yet!
Thought I was buying a door like the one advertised. Not one with this bulky plastic trim I could have bought at a box store for half the price. Now they want to make me pay to ship it back. It’s probably going to cost me half the price of the door to get rid of something I didn’t want. Still waiting for this problem to be resolved. I’ve emailed and called and I’ve only had conversations via text with someone.
Doors came super fast with no damage and exactly like I wanted. Will definitely be using Pease in the future fore all my door needs. I placed two seperate orders and they even called to make sure it wasn’t a duplicate order by mistake. Great people and great products thanks!!!
I’m so glad to discover Pease Doors! Great shopping experience, great product selection and great price! I got exactly what I wanted, not just settling because of running out of options. So thankful to find a new go-to resource!
Imagine the surprised look on my installer’s face when he unpacked the door and saw that there was no glass in the door. It would have been nice to inform us that the replacement door for the one that you had drilled incorrectly was going to be shipped without the glass. Once again, an epic fail for you in terms of customer service. It really reflects poorly on you and your company. Rest assured that I will never be a customer of yours again.
Store owner replied:
We regret to hear of your dissatisfaction, but we would like to address your concerns. When we arranged to send the replacement door, it was made clear that this would be for the door slab only, not a fully assembled unit with glass. The replacement was intended to resolve the issue with the incorrectly drilled door while allowing you to use the glass from your previous order, as it is compatible with the new door we provided.
Additionally, we went above and beyond to make things right by refunding 50% of your order, which we believe was a fair resolution given the circumstances.
We understand your frustration, but we would appreciate acknowledgment of the efforts made to address your concerns and provide a viable solution. Should you need assistance with your current setup, feel free to reach out. - Charlie
Ordered the door with standard hinge hinge and lock prep and had to do a little cleanout with a chisel and fill a couple of small chips where it was routed. Otherwise, very pleased with the door - seems well constructed and no imperfections.
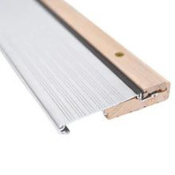
We ordered the door along with a glass/frame kit and a door sweep. All arrived in great shape, earlier than expected. We are very pleased with the quality and appearance of our new door. Installation was straightforward, and the new door fit perfectly. An all around good experience, and the Pease office staff were very helpful.
Ordering process was very simple (they took great care to make sure proper measurements were made) - i was expecting to have to install the glass in the door but was already done (pleasant surprise) - install of door was easy and the quality of product is excellent - thanks
Door had small dent on side rail ,shipping box did not look damaged. Do to timing I repaired it and repainted. Cut out for glass was larger than necessary, trim just barely covered, maybe 1/16" at one point. With all that said the door worked well with the existing frame and the customer was pleased. Thank you for asking for feedback