


Threshold Installation
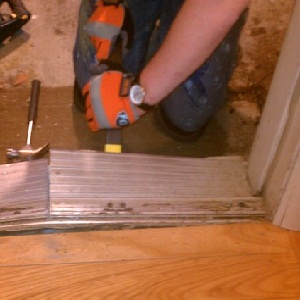
1. Cut or break the old threshold in half (see above), we recommend using a circular saw and a heavy duty flat pry bar
2. Pull out the pieces of the old threshold from the jamb (which are the wooden frames around your door). There are usually 3 to 4 screws from the other side of the jamb into both ends of the threshold that were used to hold the threshold in place for transportation. You may need to pull fairly hard on the pieces near the jamb because you most likely will be pulling 3 to 4 screw heads through the softer jamb material. Usually, you should not have any touch up to do to your jambs after pulling out the screw heads since the new threshold will cover the holes.
3. Clean out the space thoroughly.
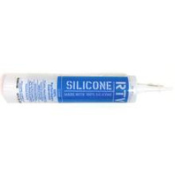
4. Apply high quality silicone caulk liberally to the bottom of the new threshold to block water, bugs, and air.
5. Slide the new threshold into place from the inside of your house so the thinner(outside) front edge of the aluminum goes first, then tuck the rest of the threshold into position. lf you have installed new flooring since your original threshold was installed and are unable to slide your threshold into place from the inside of your house, you will have to cut away enough of your jambs on either side to install the threshold. Then you will need to patch, caulk and touch up with paint any parts of your jambs that were cut.
6. Caulk where the threshold meets the jambs on either side.
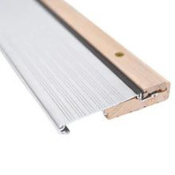
7. Adjust the sill height by turning the screws in the adjustable strip to the right height for your door sweep. If you place a single playing card under your door between your door sweep and your adjustable sill, you should be able to pull the card out with a little tension, but it should not fall (too big a gap between the threshold and sweep) nor be stuck (too small a gap between the door sweep and the threshold ). If you need to correct the gap, you should be able to turn the threshold screws to adjust the height of the threshold to give you the right amount of tension.
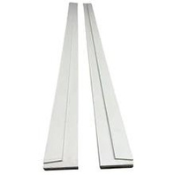
8. Stain or Sealing is optional. The adjustable oak strip is treated wood, so you do not need to stain or seal it with polyurethane, but you can if you wish. If you have one of the composite strips, you do not need to seal it.