


Adding Glass or Changing Your Cut Out
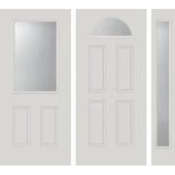
Before & After Cut Out
Example 1: Standard 2 Panel Door

Example 2: Standard 6 Panel Door


Adding glass to your door or installing a larger size glass can be a great way to let more light into the home, update the look of your door, or adapt your door from a discontinued door glass size/shape.
A carpenter or handyman can help you do this if you do not have the necessary tools. The project takes roughly 1-2 hours.
Here is a video explanation we have found to be incredibly helpful and straightforward! (first 4 minutes cover making the cut out in your door)
Supplies you will need:
- Work gloves (to protect your hands as you saw and then remove the cut-out section from the door)
- Marker or painters tape (to draw the outline the desired cut out on your door)
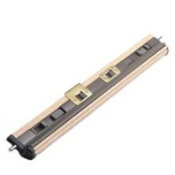
- Drill and ~3/8" to 1/2" metal drill bit (to drill starter holes for if using a jigsaw/Sawzall)
- Electric saw (circular saw, jigsaw, or Sawzall - to cut out the opening in the door)
- Screwdriver (if removing door from hinges, recommended for rounded cuts and large glass - anything bigger than 22" x 36")
- Saw horse (if removing door from hinges, to hold door while cutting)
Steps:
1. Remove door from hinges and place on sawhorse (if needed)
2. Outline desired cut out on face of door using a marker or painter's tape. Double check the measurements line up with the required cut out for your new glass & frame kit
3. If using a Sawzall or jigsaw, drill pilot holes at each corner so that you can insert the blade
4. Cut out the door, being careful to only make errors to the inside of the cut out. If using a jigsaw we recommend cutting out one side of the door (about an inch into the door) and then flipping the door over and cutting out the other side.
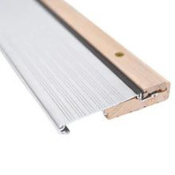
5. Install glass (see door glass installation page)
6. Replace door onto hinges (if you took the door off the hinges)