


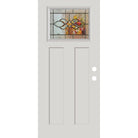
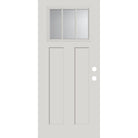

Soon to be pained a gorgeous shade of dark purple. Our handyman had an easy time with install & the quality is great! FYI the door is routed for 4” hinges.

Doors designed to exacting specifications and built to last a lifetime. All at direct pricing. Browse our selection of exterior (entry, patio, storm/screen) doors as well as our interior doors. If you don't see what you need please don't hesitate to contact us.



Couldn't load pickup availability
The Pease Fiberglass Door. Replace just your door slab and keep your existing jambs and brickmold. A perfect replacement for Pease (carbon & steel) doors as well as most entry doors by Stanley, Taylor, Mastercraft, Perma Door, Castlegate, Masonite, Therma Tru, Jeld-Wen, Plastpro, and many others. Please make sure to check your measurements (door height, width, and thickness) and feel free to contact us with any measurement or fit questions.
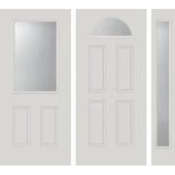
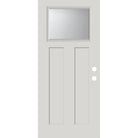
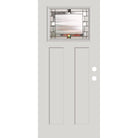
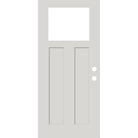
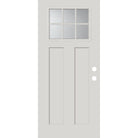
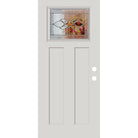
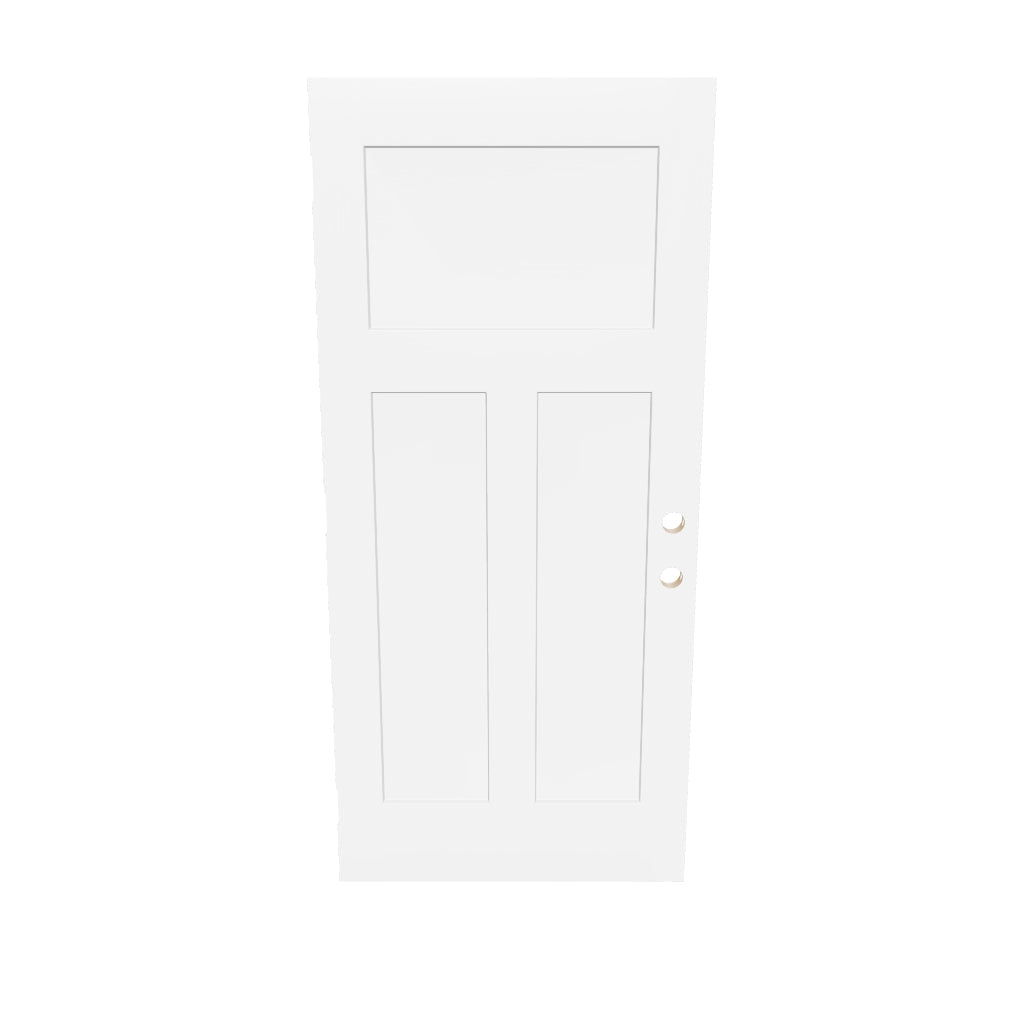
Modern 3 panel Craftsman style provides a great balance of light and privacy in an entryway. Additional glass options can be found in our door glass section.
Sizes & Measurements:
Style: 3 Panel Craftsman
31.75" x 79":
35.75" x 79":
Need help measuring your rough opening? Our free SmartFit tool guides you through every measurement so you order the right size the first time. Get started → smartfit.peasedoors.com
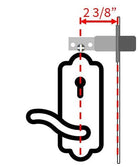
Prep & other specifications:
Overall rating: 4.9 / 5 from 17 reviews.
Soon to be pained a gorgeous shade of dark purple. Our handyman had an easy time with install & the quality is great! FYI the door is routed for 4” hinges.

Love my new door. Changes the ambiance inside and outside of my condo. The window is what makes it spectacular. Catches the morning iight from the rising sun from the east and a street lamp from the west at night. Shines differently throughout the day.

Great door , good quality. Client loved the finish

Pease doors go up and beyond when it comes to customer service and with a great product they had exactly what I needed for a ninety year old house could make fit with great end results.Thank you

Love the door, quality is very good! Installation went well, the only reason I wouldn't give it a 5, was that I wish it would have had Textured wood grain and the glass didn't have color in the glass that the picture shows. Another nice feature about the glass is a small rectangular peep hole that allows you to see through to see who is out side.
Smooth Fiberglass Entry Door Slab (3 Panel Craftsman) - SLAB ONLY

Our 25+ year old front door was overdue for replacement, but I couldn't find a replacement, because the manufacturer and serial number didn't exist anymore. After a search, I determined that a Peace slab might be a perfect fit. After speaking with customer service, we determined which size slab I would need. Still nervous and skeptical, I ordered anyway. And when I say that it fit perfectly.. it fit PERFECTLY! We are incredibly happy with this replacement slab, and the fantastic customer service we received. Thank you!
Smooth Fiberglass Entry Door Slab (3 Panel Craftsman) - SLAB ONLY

The new Craftsman door was delivered quickly and in good condition. Fit perfectly and cutting the hinge mortises to fit my existing frame with just a chisel was no problem. I painted 2 different colors- slate blue on inside and green on outside before installing, and the fiberglass took the paint well. New hardware, and a world of difference from the old bla steel door. Thank you to Laney, and all the people at Pease Door for your work in making this possible, saved a lot of money. Sorry for no outside pictures, been raining for 4 days.
have not installed yet, wife has to pick a paint color!
It is exactly what we wanted. Finally got it put on and it looks great.
well made product, shipped expeditiously, packaged well, arrived and delivered to an appropriate place at our dwelling
good door for the money
Good experience. Shipped and arrived quickly, undamaged. Easy install, beautiful door.
nice door
The description of the door on the site matched what I received. This was a seamless process from ordering to delivery.
The door came fully crated with minimal packaging damage - no damage to the door. The craftmanship is top notch - very pleased.
Solid construction- great fit. Very happy!
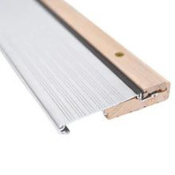
It took a long time to find the door I wanted, and Pease had it. But it was expensive (plus shipping). When selecting/purchasing, your web site should recommend additional items that correspond to this door--particularly the sweep that fits this door. In fact, it would be nice if it was optionally included as well. I had to wait several more weeks to install the door until I received the sweep. Suggested hardware that fits the door would be helpful, too. I live in a very corrosive environment near the ocean. I asked if it should get additional primer and paint due to the environment here, but I was simply assured "It is primed and ready for painting." To protect this investment, I added another coat of primer and two coats of paint. We'll see how it holds up.