


Weatherstripping is an essential component in maintaining a comfortable and energy-efficient home. Over time, the weather stripping on your doors can wear out, leading to drafts, increased energy bills, and difficulty in closing doors. This step-by-step guide will help you identify when it's time to replace your weather stripping and walk you through the process of how to Install weather Stripping on a door.
Key Takeaways
- Measure and clean surfaces before applying weather stripping to ensure maximum adhesion and effectiveness.
- Select the appropriate type of weather stripping for different areas of your home, such as doors and windows.
- Cut the weather stripping material to the precise length needed to cover gaps without overlapping or leaving spaces.
- Test the seal after installation by opening and closing doors to ensure they operate smoothly and effectively block drafts.
- Regular maintenance and inspection of weather stripping can help prolong its lifespan and maintain your home's energy efficiency.
Signs that weather stripping needs replacement
Weatherstripping plays a crucial role in maintaining the energy efficiency and comfort of your home. Recognizing the old weather stripping signs can save you from unnecessary energy costs and discomfort. Here are some key indicators that it might be time to replace your weather stripping:
-
Drafts and Air Leaks
One of the most obvious signs is feeling drafts or air leaks around your doors. If you notice a significant temperature difference near the door edges, it's a clear indication that your weather stripping is no longer effective.
-
Increased Energy Bills
A sudden spike in your energy bills can also be a sign. Poor weatherstripping allows cold air to enter during winter and cool air to escape during summer, making your HVAC system work harder.
-
Visible Wear and Tear
Inspect your weather stripping periodically. Look for dry rot or chunks missing. If you see any visible damage, it's time to replace it. Quality doors deserve quality weather stripping to function efficiently.
-
Difficulty Closing Doors
If your door becomes difficult to close or you notice it doesn't seal properly, the weather stripping might be worn out or misaligned. This can lead to further issues if not addressed promptly.
Tools and materials required for replacement
Before you start, gather all the necessary materials for replacing weather stripping. Having the right tools and materials on hand will make the process smoother and more efficient.

- Utility Knife: For cutting the new weatherstripping to the correct length.
- Screwdriver: To remove any screws holding the old weatherstripping in place.
- Tape Measure: To measure the length of the door and the weatherstripping.
- Pliers: To pull out old weatherstripping that might be stuck or nailed in.
- Hammer: For any nails that need to be removed or to tap in new nails.
- Putty Knife: To help pry off old weatherstripping without damaging the door.
- Drill: If new screw holes are needed for the new weatherstripping.
- Caulk Gun: If you need to apply caulk to seal gaps after installing the weatherstripping.
If you have any questions our door experts are ready to assist you with any help you may need.
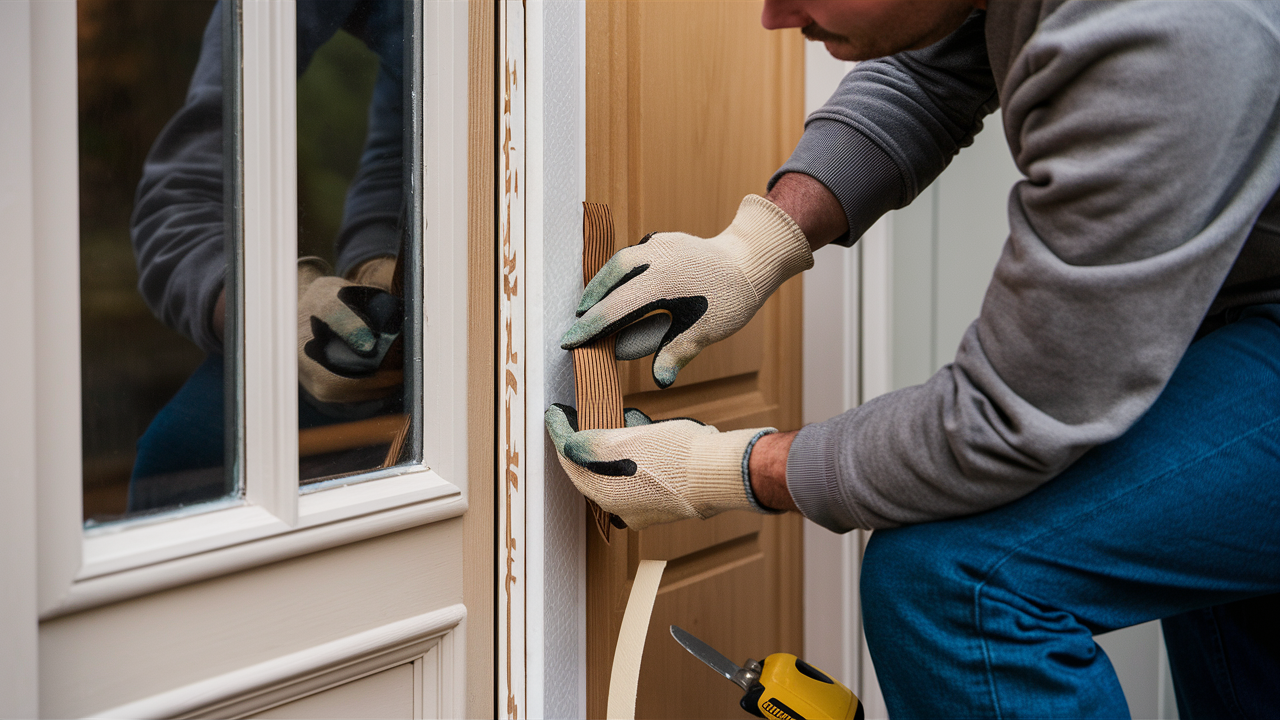
Steps to install the new weatherstrip
Installing new weather stripping is a straightforward process that can significantly improve your home's energy efficiency. Follow these steps on how to Install weather Stripping on a door.
-
Measure the Door Gap
Start by measuring the gap around your door. Use a tape measure to determine the width and length of the gaps. This will help you cut the weather stripping to the correct size.
-
Clean the Surface
Before applying the new weather stripping, clean the surface thoroughly. Use rubbing alcohol to remove any dirt or debris. A clean surface ensures better adhesion for the weather stripping.
-
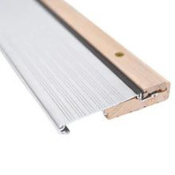
Cut the Weather Stripping
Cut the weather-stripping material to the measured lengths using a utility knife or scissors. Make sure to cut precisely to avoid any gaps that could let air through.
-
Apply the Weather Stripping
For self-adhesive weather stripping, peel off the backing and press it firmly onto the clean surface. If you're using a different type, follow the manufacturer's instructions for application. Be careful not to stretch the weather stripping as you’re replacing weather stripping, as it will return to its original length and could leave gaps.
-
Test the Seal
After applying the weather stripping, close the door to test the seal. Ensure there are no drafts or air leaks. If you find any, adjust the weather stripping as needed to create a tight seal.
Tips for ensuring a proper fit

Ensuring a proper fit for your weather stripping is crucial for maximum efficiency. Here are some proper fit tips to help you get the best results.
-
Use the Right Type of Weather Stripping
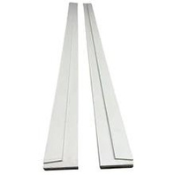
Choosing the right material for your needs and climate is essential. Different materials offer varying levels of durability and insulation. For instance, foam tape is great for irregular gaps, while V-strip is excellent for sealing the sides of doors. Always make sure to select a material that suits your specific requirements.
-
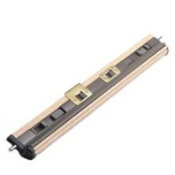
Test After Installation
Before securing the new threshold, place it in the doorway to ensure a proper fit. Make any necessary adjustments, such as trimming the threshold further or repositioning it. This step helps you avoid any gaps that could lead to drafts and air leaks.
-
Regular Maintenance
Regularly check after replacing weather stripping for old weather stripping signs. Over time, even the best materials can degrade, leading to reduced efficiency. Make it a habit to inspect and replace any damaged sections to maintain a tight seal. Additionally, clean the weather stripping periodically to remove any dirt or debris that could affect its performance.
Ensuring a proper fit for your doors is crucial for both aesthetics and functionality. For expert advice and a wide selection of top-quality doors, visit Peasedoors today.
Conclusion
Installing weather stripping on your doors is a straightforward yet highly effective way to improve your home's energy efficiency and comfort. By following the step-by-step guide on how to Install weather Stripping on a door. , you can easily identify when your weather stripping needs replacement, gather the necessary tools and materials, and install new weather stripping with confidence. Remember to measure accurately, clean surfaces thoroughly, and test your work to ensure a proper fit. Regular maintenance and inspection will help keep your weather stripping in optimal condition, further enhancing your home's insulation. With these tips and techniques, you'll be well on your way to a more energy-efficient and comfortable living space.
Frequently Asked Questions
1. What is weather stripping and why is it important?
Weather stripping is a material used to seal gaps around doors and windows to prevent air leaks. It is important because it helps improve energy efficiency, reduces drafts, and can lower energy bills.
2. How do I know if my weather stripping needs to be replaced?
Signs that weather stripping needs replacement include drafts and air leaks, increased energy bills, visible wear and tear, and difficulty closing doors.
3. What tools and materials do I need to install weather stripping?
You will need weather-stripping material, a utility knife or scissors, and a tape measure. Optional tools include a screwdriver, staple gun, and putty knife.
4. How do I measure the door gap for weather stripping?
To measure the door gap, close the door and measure the gap between the door and the jamb, as well as the door and the stop. Take measurements along both side jambs and the head jamb to ensure you choose weather stripping that can fill the largest gap.
5. Can I install weather stripping myself or should I hire a professional?
Installing weather stripping is a DIY-friendly task that most homeowners can do themselves with basic tools. However, if you are unsure or have a large project, you may choose to hire a professional.
6. How often should I inspect and replace weather stripping?
It is recommended to inspect your weather stripping at least once a year and replace it as needed. Regular maintenance ensures maximum efficiency and helps prevent energy loss.