
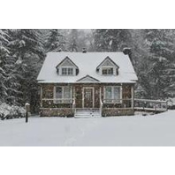


Ever wondered how to keep your home cozy and your energy bills under control? The answer lies in a simple yet effective solution – weather stripping your doors. This unsung hero not only enhances your home's insulation but also adds an extra layer of protection against drafts, moisture, and unwanted critters. So, let's dive into the world of weather stripping and discover how it can transform your living space into a comfortable, energy-efficient haven.
Key Takeaways:
- Weatherstripping seals gaps around doors, preventing air leaks and improving insulation.
- It helps regulate indoor temperatures, reducing energy costs and environmental impact.
- Various types of weather stripping cater to different door styles and materials.
- Installing weather stripping is a cost-effective and DIY-friendly project.
- Proper installation and maintenance ensure long-lasting benefits.
Whether you're a seasoned DIYer or a homeowner looking to save on utility bills, weather stripping is a game-changer. Imagine snuggling up on the couch without feeling those pesky drafts or watching your hard-earned money slip through the cracks (quite literally). With the right weather stripping, you can bid farewell to those energy-draining gaps and create a comfortable, energy-efficient home.
All about Weather Stripping
So, what exactly is weather stripping, and why is it so important?
Simply put, it's a seal that fills the gaps between your door and its frame. These gaps, no matter how small, can be a highway for air leaks, allowing warm or cool air to escape and letting in unwanted drafts, moisture, and even tiny critters. By closing these gaps with weather stripping, you can keep your indoor temperatures consistent, reduce energy consumption, and save money on those pesky utility bills.
Types Of Weatherstripping Available
Now, let's talk about the different types of weather stripping available in the market
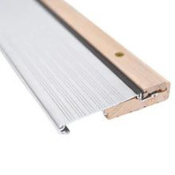
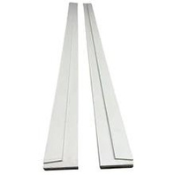
- Foam Tapes: Self-adhesive foam strips that work well for wooden doors. Easy to install and effective at sealing gaps.
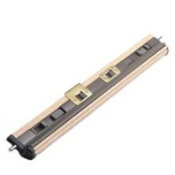
- Spring-loaded Metal Strips: Durable metal strips with a spring-loaded design that conforms to gaps. Ideal for wooden doors with irregular surfaces.
- Rubber Gaskets: Flexible rubber seals that are perfect for metal doors. Provides a tight seal and can withstand temperature changes.
- Vinyl Sweeps: Designed for the bottom of doors, vinyl sweeps create a barrier against drafts and moisture.
- Felt Strips: Made from densely woven fibers, felt strips are a budget-friendly option for sealing gaps around doors and windows.
- Intumescent Strips: Designed to expand and seal gaps in case of fire, providing an added safety feature.
Choosing the right weather stripping is just the first step; proper installation is crucial for maximizing its benefits. Don't worry; it's a straightforward process that even the most DIY-challenged among us can tackle. We'll guide you through the step-by-step process, ensuring that you get it right the first time.
But wait, there's more! Weatherstripping isn't just about sealing those pesky gaps; it also plays a crucial role in enhancing your home's overall insulation. By preventing air leaks, it helps maintain a consistent indoor temperature, reducing the workload on your heating and cooling systems. This, in turn, translates into lower energy bills and a smaller carbon footprint – a win-win for your wallet and the environment!
Now that you understand the importance of weather stripping, let's dive into the installation process. Trust us; it's a breeze, and the results will have you feeling like a home improvement pro!
Step By Step Installation Guide

Step 1: Choose the Right Weather Stripping
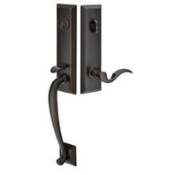
Before you grab your toolbox, take a moment to assess your doors. Are they made of wood, metal, or another material? Do they swing inward or outward? These factors will determine the type of weather stripping you need. For example, foam tapes work well for wooden doors, while rubber gaskets are better suited for metal doors.
Step 2: Measure and Cut
Once you've selected the right weather stripping, it's time to measure your doors. Carefully measure the length of each side and add a few extra inches for overlap. This will ensure a snug fit and prevent any gaps. Use a sharp utility knife or scissors to cut the weather stripping to the desired length.
Step 3: Clean and Prepare the Surface
A clean surface is key to ensuring proper adhesion. Wipe down the door frame and the door itself with a clean cloth or degreaser. This will remove any dirt, grease, or debris that could interfere with the weather stripping's ability to stick.
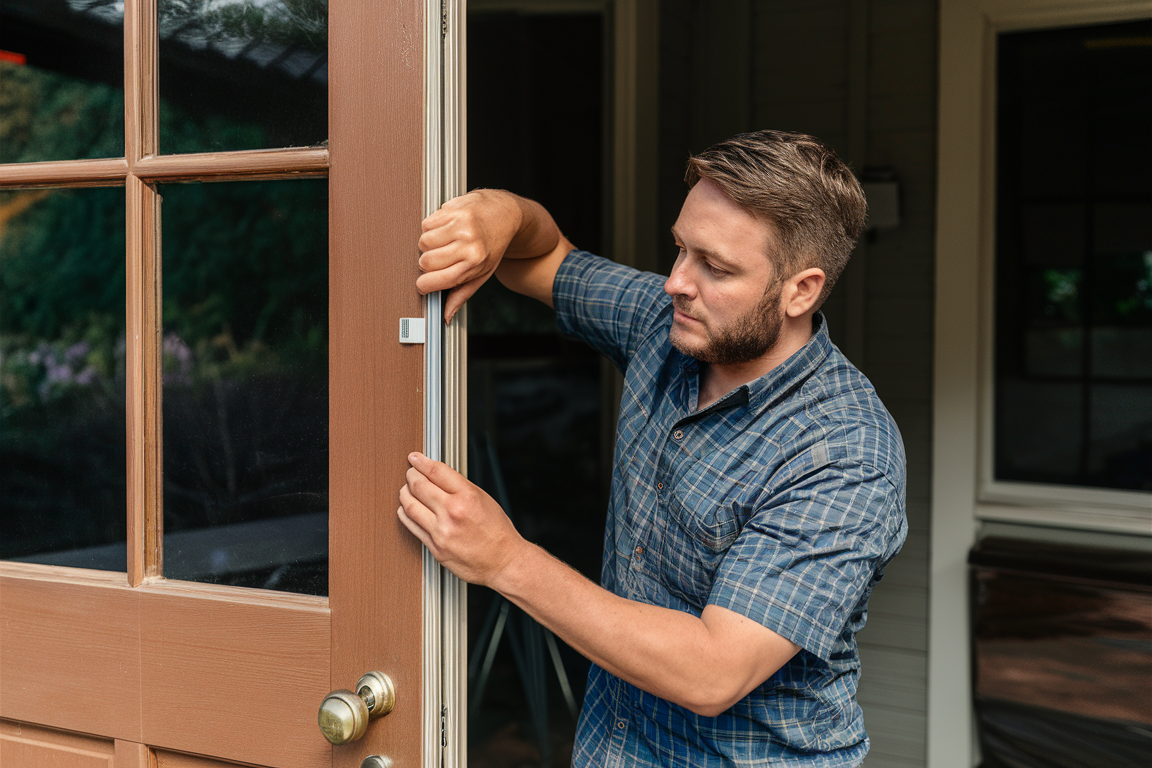
Step 4: Apply the Weather Stripping
Now comes the fun part! Follow the manufacturer's instructions for applying the weather stripping. For adhesive-backed strips, peel off the backing and press the weather stripping firmly into place. For other types, you may need to use nails or screws to secure them.
Step 5: Seal the Corners and Overlaps
Pay special attention to the corners and overlaps, as these are common spots for air leaks. Use a utility knife to trim any excess material and ensure a tight, seamless fit.
Check out our YouTube video to get a clearer picture.
Troubleshooting Tips For You
- If the weather stripping doesn't seem to be adhering properly, try cleaning the surface again or using a strong adhesive.
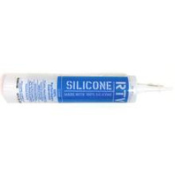
- If you encounter gaps or uneven surfaces, use caulk or foam sealant to fill them in before applying the weather stripping.
- For tricky areas like door sweeps or thresholds, consider enlisting the help of a professional or seeking guidance from the manufacturer.
Once you've successfully installed the weather stripping, it's time to reap the benefits! You'll notice an immediate difference in your home's overall comfort level, as drafts and outside noise are minimized. But that's not all – you'll also start saving money on your energy bills as your heating and cooling systems work more efficiently.
Maximize Your Benefits
To maximize the benefits of your weather stripping, consider these additional tips:
- Regularly inspect and replace worn or damaged weather stripping to maintain a proper seal.
- Combine weather stripping with other insulation measures like caulking, window treatments, and attic insulation for optimal energy efficiency.
- Educate your family members on properly opening and closing doors to prevent damage to the weather stripping.
As you can see, weather stripping is a simple yet powerful solution for improving your home's insulation and energy efficiency. Not only will it keep you comfortable, but it will also save you money and contribute to a more sustainable living environment.
Ready to take the first step towards a cozier, more energy-efficient home? Visit us at PeaseDoors.com to explore our wide range of weather stripping options and expert installation guides. Our knowledgeable team is always ready to assist you in finding the perfect solution for your doors.
Common FAQs:
1. How often should I replace weather stripping?Weatherstripping typically needs to be replaced every 3-5 years, depending on the material and usage. Regularly inspect it for signs of wear, cracking, or gaps, and replace it as needed.
2. Can weather stripping be installed on existing doors?
Absolutely! Weather stripping is a great way to improve the insulation and energy efficiency of your current doors without the need for a full replacement.
3. Is weather stripping difficult to install?
Not at all! With the right materials and a little patience, weather stripping can be a straightforward DIY project. Our step-by-step guides and instructional videos make the process even easier.
4. Will weather stripping make it harder to open and close my doors?
Not if it's installed correctly! Proper installation ensures a snug fit without compromising the door's functionality. Well-installed weather stripping can often make doors easier to open and close by reducing friction and air resistance.
5. Can weather stripping be used on windows as well?
Yes, weather stripping can be an effective solution for sealing gaps around windows, too. Just make sure to choose the appropriate type of weather stripping designed for window applications.