


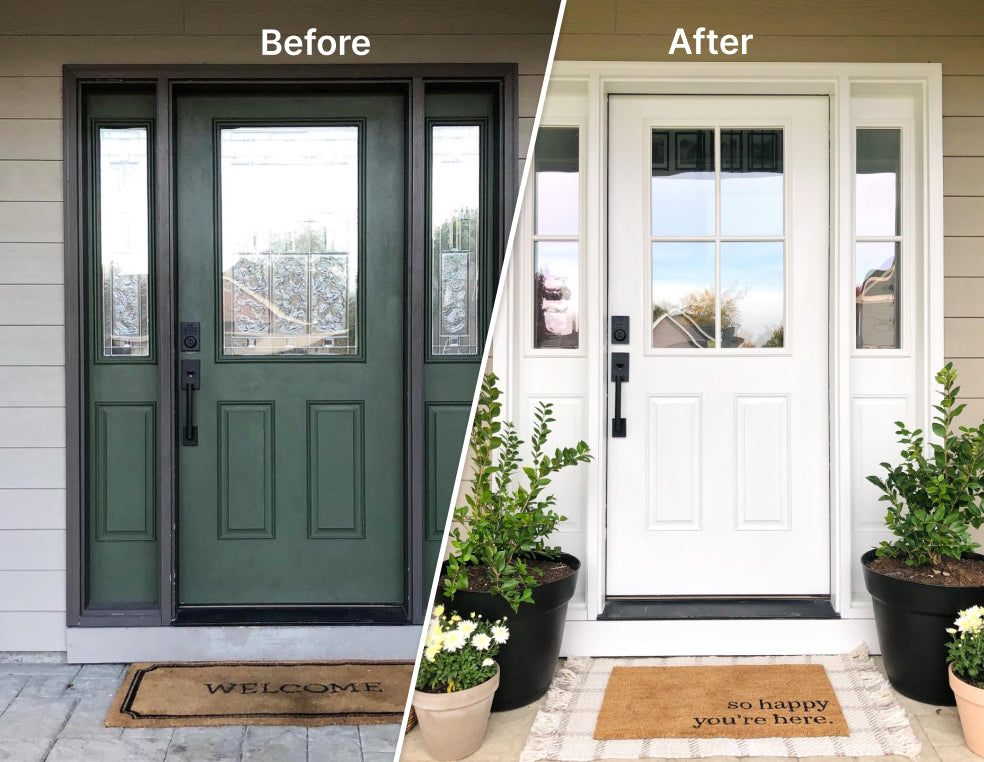

A Fresh View with a Simple Swap
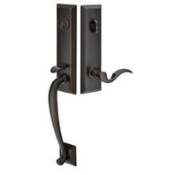
Ever glance at your front door and think, "Hmm, could use a bit of a facelift"? You're not alone. The entrance to our homes says a lot about us, and there's no easier way to freshen up its look than with a new set of door glass. That's where the Glass from Pease Doors coms into play. Not only does it promise an upgrade to your home's aesthetic, but it's also a DIY project that's both satisfying and surprisingly simple. Ready to boost your curb appeal? Let's get into it.
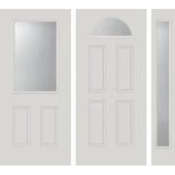
Why Go for a Half Lite Door Glass Replacement?
First things first, let's talk benefits. A door glass not only enhances the natural lighting inside your foyer but also adds a modern touch to your home's exterior. It's perfect for those looking to add character while maintaining privacy. And with energy-efficient glass options, you can improve your home's insulation, keeping those energy bills in check.
The DIY Journey: Step-by-Step Installation Guide
Feeling handy? Great! Here's how you can install the Half Lite door glass replacement kit by yourself, without calling in a pro.
1. Remove the Old Door Glass (if applicable):

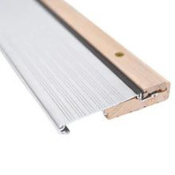
Start by carefully removing any trim or clips holding the existing glass in place. Use a utility knife to cut through any sealant or paint, and gently push the glass out from the door.
2. Prep the Door:
Clean the area where the new glass will sit. If you're replacing an older model or installing a new set in a door without a pre-cut hole, measure and mark the required dimensions according to the kit's instructions. Ensure accuracy to avoid any gaps or misalignment.
3. Install the New Glass:
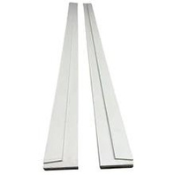
 Take the Half Lite glass and carefully place it into the opening. It should fit snugly. Once in place, secure it with the provided clips or trim pieces, ensuring a tight seal to prevent moisture or drafts.
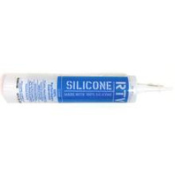
4. Seal the Deal:
Apply a bead of high-quality silicone caulk around the edges of the glass on both sides of the door to seal it from the elements. Smooth it out with a caulk tool or your finger (covered in soapy water to prevent sticking).
5. Finishing Touches:
Once the caulk has dried, you may paint or finish the trim to match your door, following the paint manufacturer's instructions for the best results.
Tips and Tricks for a Smooth Installation
- Measure Twice, Install Once: Double-check your measurements before cutting or installing to ensure a perfect fit.
- Patience is Key: Allow the silicone caulk to dry completely before closing the door or exposing it to moisture.
- Personal Touch: Customize the trim or finish to match your home's style for that personalized touch.
Maintaining Your New Door Glass
Maintenance is a breeze. Regularly clean the glass with a mild detergent and soft cloth to keep it looking pristine. Inspect the sealant periodically and reapply if necessary to keep your home well-insulated.
FAQs for the Enthusiastic DIYer
Can I install this kit on any door?
This kit is designed for standard doors. Check the dimensions and compatibility before purchasing.
What tools will I need?
Basic tools like a screwdriver, utility knife, caulking gun, and measuring tape will do the job.
Where can I find this kit?
Head over to Pease Doors to grab your DIY kit and start the transformation.
Wrapping It Up: A Door That Speaks Volumes
There you have it—a comprehensive guide to giving your entryway a makeover with the door glass replacement kit. Not only is it a project that's sure to add value and beauty to your home, but it's also a testament to the joys of DIY. So, why wait? It's time to roll up those sleeves and bring a new level of curb appeal to your home.
Happy DIY-ing!